2024 Calendars are ON SALE NOW CLICK HERE!

How to Dump an RV Black Tank

Posted by

on

One of the most frequent questions asked by my YouTube audience is how to dump my Class C RV black tank, especially since I like to boondock and not stay at campsites. I know many people are intimidated by the thought of having to deal with dumping waste. Dealing with sewage is not ideal, but it is a part of RV life. Today, I am sharing how to do it in 10 easy steps.

Easy Ways to Find a Dump Station for Boondockers

If you are like me and prefer to boondock, you can use these sources to find dump stations along your travels.

  • SaniDumps.com – You can search by zip code to find RV park, non-park, municipal, truck stop, rest stop, campground, camping, resort, commercial, pay, donation, and free RV dump stations.
  • Campendium – You can find campsites and dump stations near your current location.
  • RVDumps.com – You can search by state, city, or what is closest to your location. The map will also show you Interstate rest areas with dump stations.

Using one of the above websites or apps will help you plan your route and know where your next dump and refill location will be. Dump stations are shared spaces, so remember to be kind and leave it cleaner than you found it. Use the hoses at the dump station to rinse and clean the area when you finish dumping your tanks.

Dumping Your RV Black Tank: First Steps

First, how to prepare for emptying your holding tanks:

  • Locate your dump valves on your RV or trailer.
  • Pull up to the dump station as close as possible, leaving enough room for you to get in there and work.
  • Use disposable gloves or gloves that you store just for handling your sewage hose to keep your hands from being exposed to any possible leaks or spills. Let’s face it, no one wants poop all over their hands!
  • Note that your sewer waste valve is BLACK and your gray water tank cover is usually GRAY.  
  • DO NOT store your fresh water hose with your sewage hose.

Easy Step by Step Instructions to Dump Your RV Black Tank

Now that you are positioned at the dump station and your gloves are on, you are ready to dump your tank.

1. Take your sewer hose from its storage compartment. Most newer rigs have the hose stored in the bumper. If you have an older RV or trailer it is probably behind a little storage door. TIP: Make sure you have a good quality sewer hose!  If not, pinholes will develop over time and create leaks. You do not want sewage spraying all over you or the ground. Get a good quality, thicker hose like the one I use: Rhino ten-foot sewer hose.

2. Unscrew the cap from the holding tank spout. A few drops of liquid will come out, but not to worry because this is why you have gloves on.

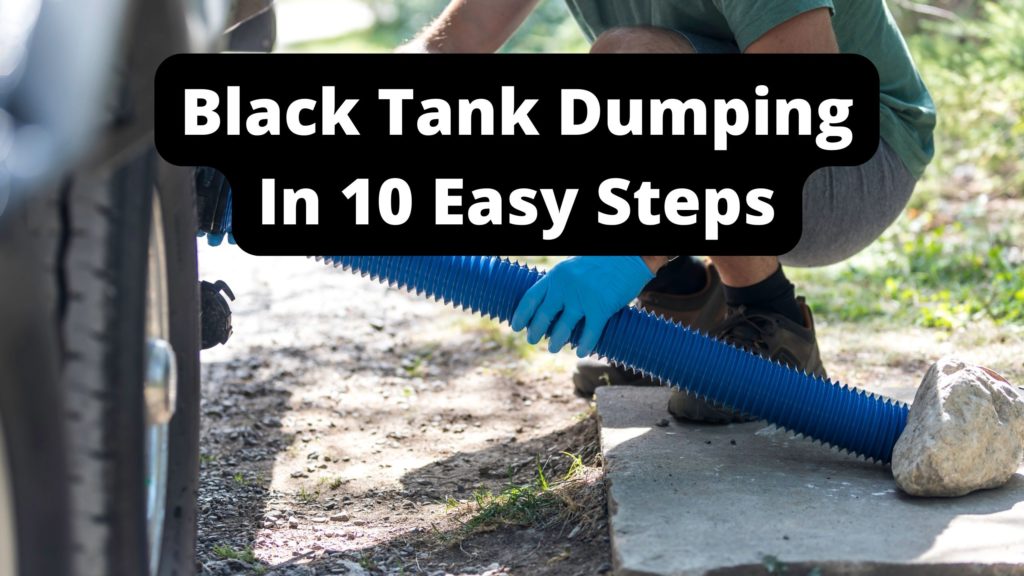
3. Fit your sewage hose onto the dump tank spout. You want to make sure it is on nice and tight before releasing the water from the tank. If you do not have a tight-fitting, it will leak, or worse, your hose will fall off, resulting in a yucky mess. Place the loose end of the hose down in the dump station spout, which is usually a hole in the ground with a cover. Some covers have a foot lever, so you can open it by pressing with your foot and then release it to hold your hose in place. If there is no cover, use rocks to hold your hose in place.

4. DUMP BLACK WATER FIRST! Pull and twist the lever at the same time, to release your blank tank water. You will hear it start draining. You may need to move your hose up and down a little by picking it up, to help it continue to drain.

5. Go inside your rig and start flushing the toilet with fresh water to help rinse and flush out the very bottom of the black tank. I usually flush three full toilet bowls of fresh water at the end of draining the black tank. If you use a good black tank deodorizer and waste dissolver like Bio-Pak Black Tank Deodorizer and Cleaner it should all flow out easily. You can also close the black tank valve and fill it up with a few gallons of clean water and then open the valve for an extra flush to get rid of any debris at the bottom of the tank.  Tip: If you are out of fresh water, fill up a large (gallon size) water bottle with water from the dump station water spout to pour into your toilet for flushing.

6. Next, dump your gray tank by releasing the gray valve. You can leave your black valve open while doing this to allow any debris to wash out. Dumping your gray tank last will flush and clean any black tank debris from your valves and hose.

7. After it has drained for a bit, go inside and run fresh water down your sinks to help clean out your gray tank.  Tip: You can use the same Bio-Pak Black Tank Deodorizer and Cleaner in your gray tank that you use in your black. After I close the valves I dilute the recommended amount in a gallon or two of water and dump it into my drains and into my toilet. It dissolves any food and human waste and sloshes around, kind of like a washing machine.

8. Once you know all the water is drained out of the gray tank, close your black tank valve and then the gray tank valves, and replace the cover with the dump spout.

9. Clean out your sewage hose before you put it away. Leave the end of the sewage hose in the ground spout and rinse using the water hose connected to the dump station or the water spout if there is not a hose. Then, take the end of the hose out of the ground spout and rinse with the fresh water to clean off before storing.

10. Fill your fresh water tank.

Filling Your RV Fresh Water Tank

When I am completely done handling the dump hose for my RV black tank and grey tank, I wash my hands with soap and water. This should be obvious after dealing with poop, but if this didn’t come to mind, here is your reminder! Then, I fill up my fresh water tank. I store my freshwater hose in a bag (I use a white bag to ensure I don’t mix it up with the sewage hose stored in a black bag) to keep it clean and sanitary. Be sure to use a freshwater source not located on the dump station side. The freshwater source to fill your water tank should be far enough away from the dumping station to prevent contamination. Check your gages to see when your tank is full to prevent overflowing.

My 42-gallon fresh water tank will last me about two weeks while boondocking. I conserve water to stretch how long it will last and reduce my trips back to dumping stations while boondocking. Typically, I always run out of water before the gray and black tanks are full. (I have about 52 gallons combined in my holding tanks).

Bonus Tips for RV Black Tank Dump

The last thing you want is a clog in your tanks. This will prevent you from being able to dump your black and gray tanks and can be costly to fix. Here are a few tips to keep your tanks clog-free.

  • Use a thin, not double ply-extra soft, thin septic-safe Toilet Paper. Less is more when using an RV toilet, so don’t overuse your TP.
  • Try a waste tank drop-in. Drop-in packs help break down solids and deodorize your black tank. They are pre-measured and safe for septic tanks. Simply place one packet in the toilet after dumping your black tank and flush it with fresh water.
  • Do not rinse grease from animal fat down your sink drain. This will result in clogs in your kitchen sink and your gray tank. Food particles will go down the drain, so I use an eco-friendly soap to help dissolve food and clean my gray tank.
  • Dump stations often have trash receptacles, so you throw away your trash while dumping your tanks.

Don’t Fear Dumping Your RV Black Tank

I hope this easy step-by-step guide helps you have more peace of mind and confidence when dumping your RV waste tank for the first time. It’s actually really easy to empty the tanks. Most of the time, I can be in and out in 10 minutes. If the idea of dealing with sewage has kept you from boondocking, I hope this guide now has you realizing it is not that bad and it is a simple one-person job. Until next time…

Be happy, Be Free, and Be Kind!

DISCLAIMER: Carolyn’s RV Life and Carolyn Higgins share her experiences, thoughts, opinions and ideas in this blog post and on this website for entertainment purposes only. It is not intended to be a substitute for professional advice, instruction or guidance. Viewers/Readers should consult with professionals before pursing any actions or behaviors exhibited in this video. Carolyn’s RV Life or Carolyn Higgins cannot be held liable in the event of any accident or injury that may occur as a result of application of procedures and information provided in this video.

Helpful Links:

Favorite Things

Shop my favorite RV Living things.

Free Campsites

How to find FREE campsites and my favorite spots.

Extreme Weather Safety Tips

Stay safe and be prepared for any time of weather while living in your RV.

Recent Blogs

Leave a Reply

Your email address will not be published. Required fields are marked *

This site uses Akismet to reduce spam. Learn how your comment data is processed.